
The Process of Creating Liturgical Textile Art
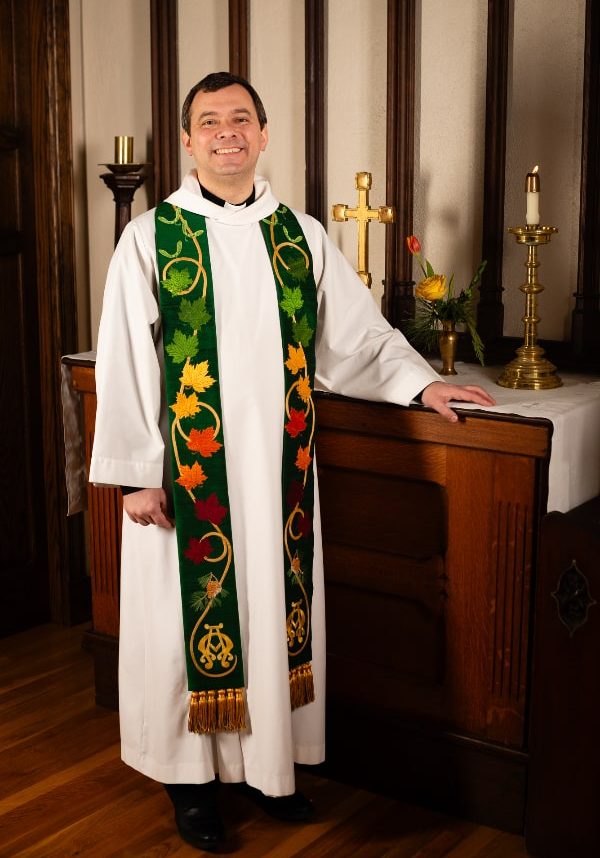
The Process of Creating Liturgical Textile Art
Each piece I create is the result of thoughtful collaboration, careful design, and skilled craftsmanship.
Whether you are commissioning vestments, paraments, or a full set, I will guide you through each step of the process with care and discernment.
Jump to:
“She took the time to truly understand our space and listen to what we were hoping for.”
St. Stephen’s Memorial Church, Lynn MA
How We Work Together

Connect & Discern
We begin with a site visit to understand your space, needs, and vision.

Design & Collaborate
A concept takes shape through shared ideas, material selection, and refinement.

Create
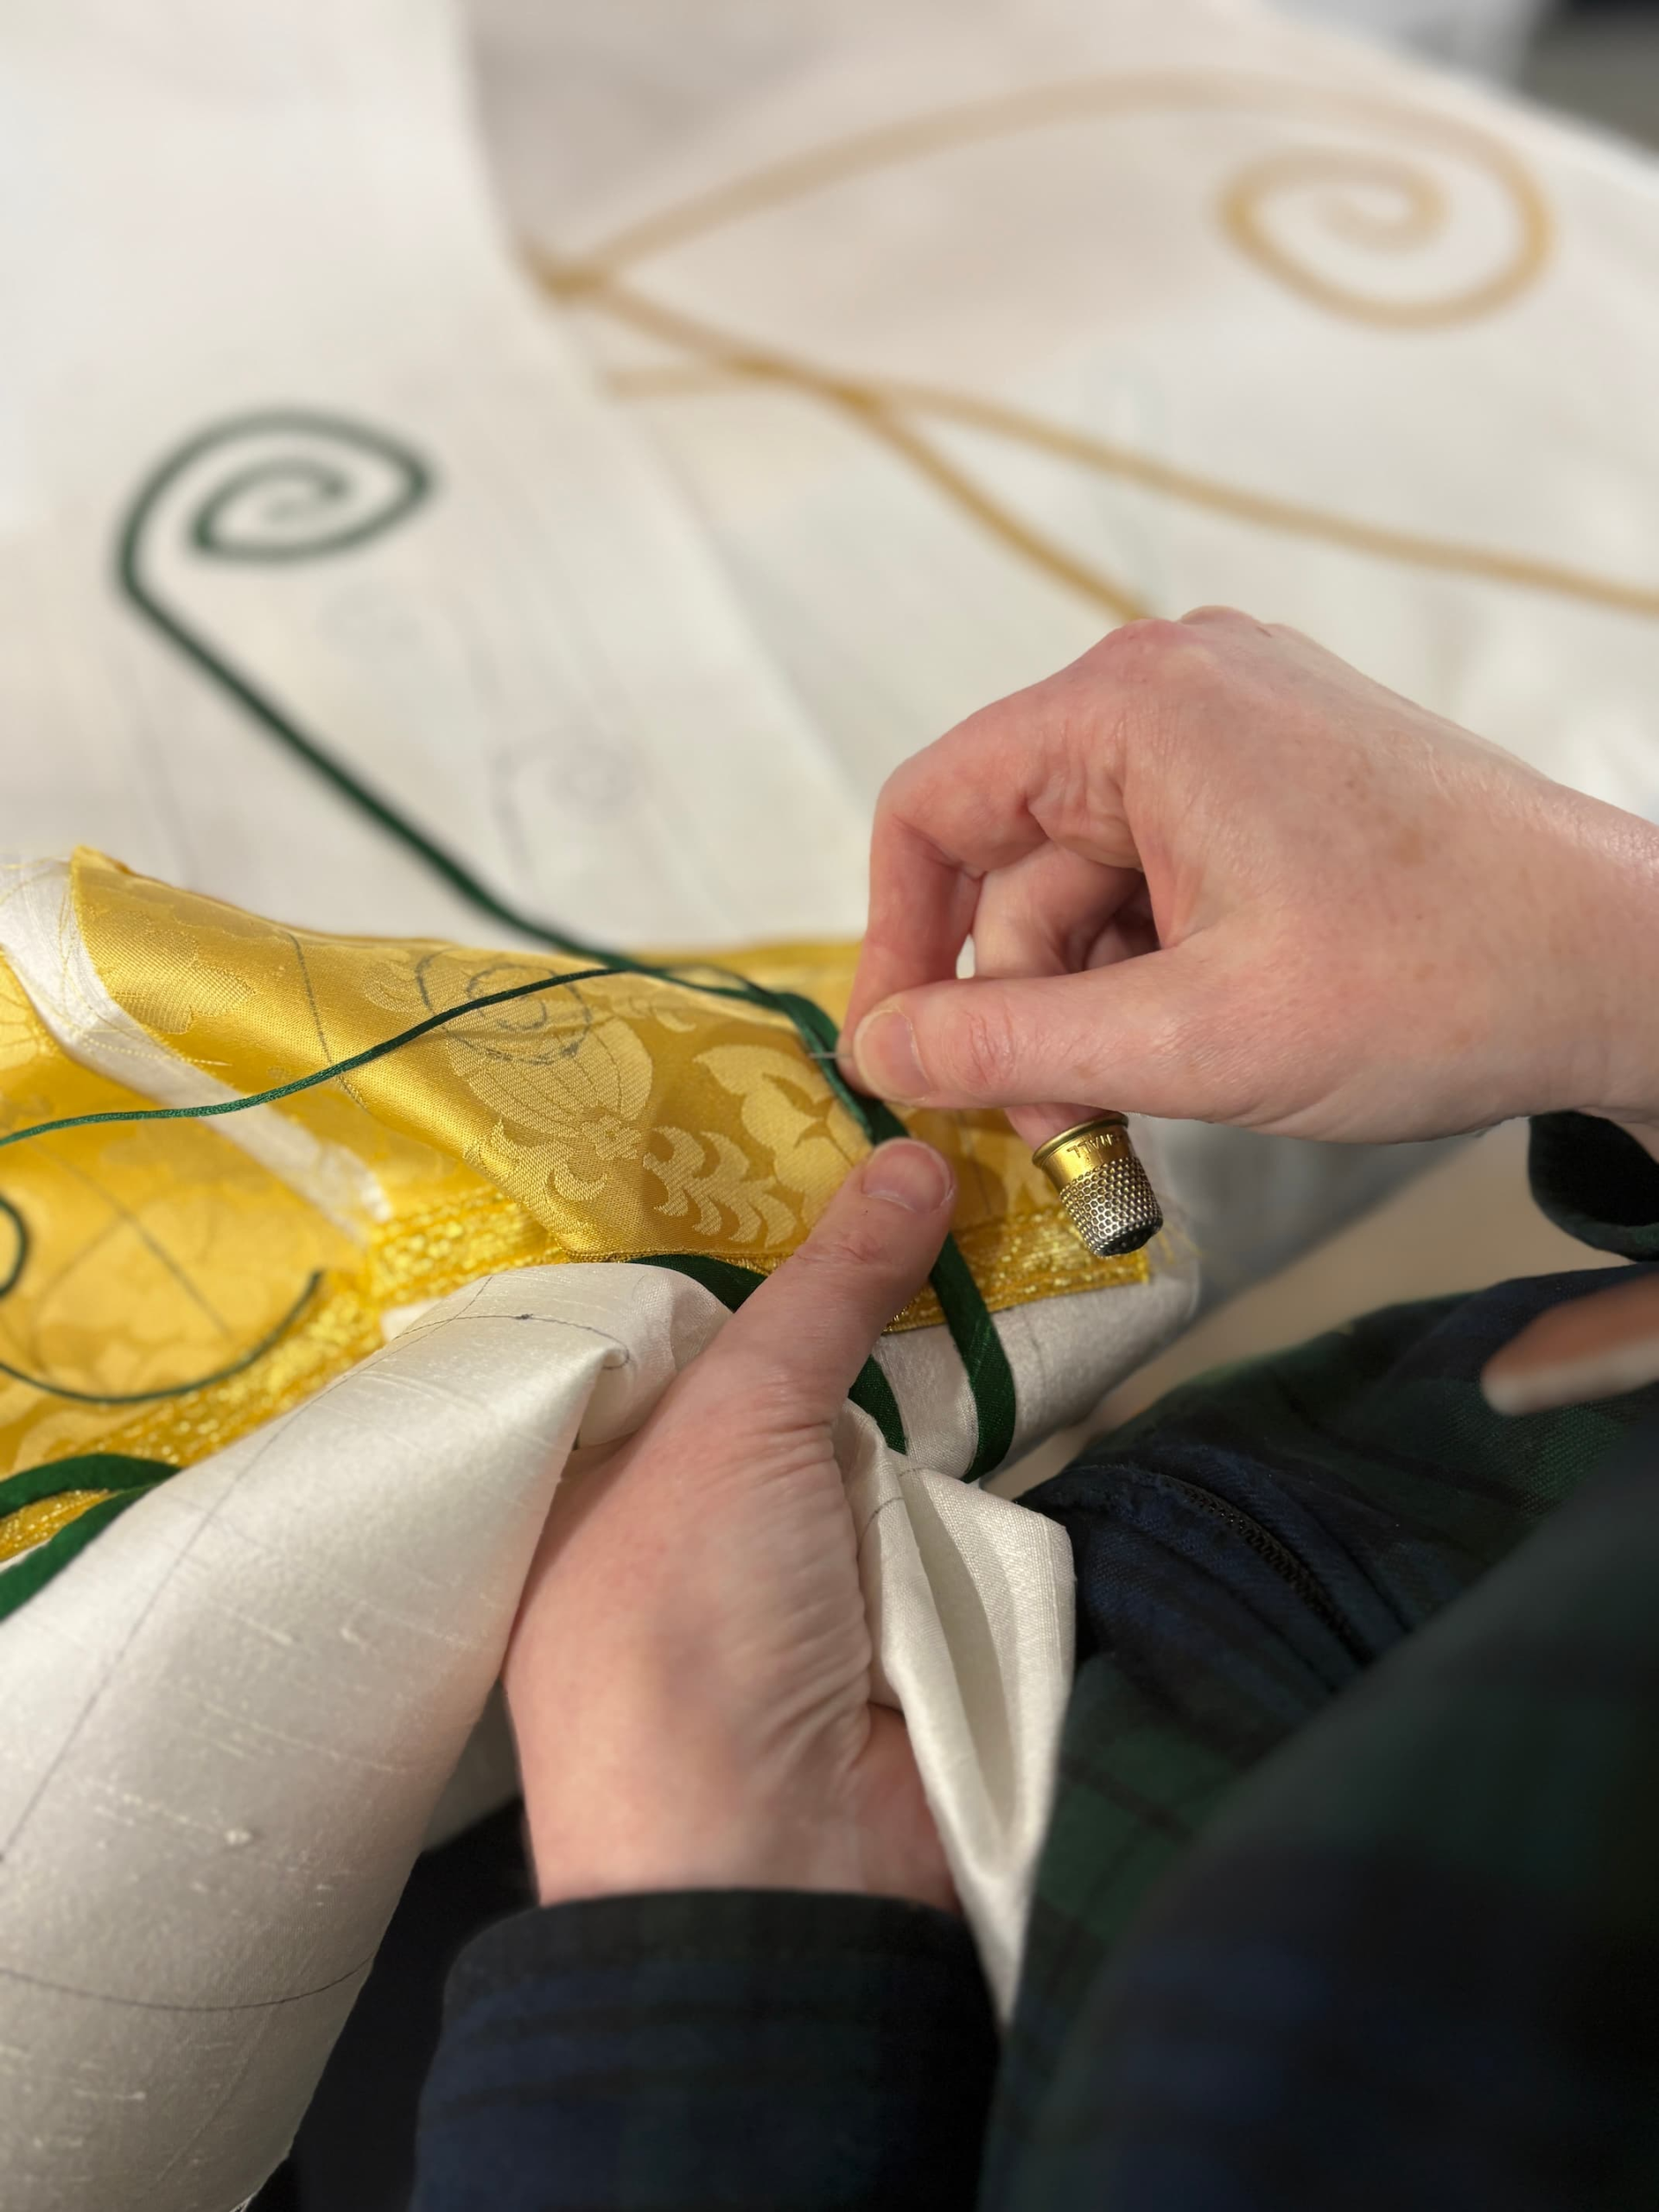
Each piece is carefully crafted over time using fine materials and techniques.

Deliver & Install
I install and prepare each piece for use in your worship space.
Whether you are commissioning vestments, paraments, or a full set, the process is mostly the same.
Step 1: Discernment & Consultation
For clergy seeking vestments, this begins with a meeting at my workshop in Holbrook, Massachusetts or via Zoom.
For parishes commissioning paraments or larger projects, I make a site visit (complimentary within 50 driving miles). This meeting may include clergy, altar guild members, and others involved in the decision-making process.
During this time:
- I become acquainted with your worship space and needs
- Take photos and measurements
- Explore fabric samples together
- Create rough sketches based on our conversation
From this, I develop a concept drawing, usually beginning with the largest piece in the project.
Step 2: Design Creation & Refinement
The concept drawing is shared along with:
- an itemized price list
- a color study with fabric swatches
- proposed materials (such as brocades or galloons)
This concept becomes the foundation for the full project.
You’ll have time to reflect and suggest adjustments before we finalize the design.
Once approved:
- A formal work agreement is issued
- Deposit and documentation secure your place in the work queue
Step 3: Creation
When work begins, I will notify you.
You are always welcome to check in on progress, though I do not typically share in-process images.
As the project nears completion:
- I will request dedication or memorial plaque details
- A final invoice will be issued (if applicable)
Once the balance is complete, we schedule installation.
Step 4: Delivery & Installation
On installation day:
- The chancel should be prepared by removing existing hangings
- An altar guild member should be present
I will:
- Install and prepare all pieces for use
- Provide guidance on care and storage
- Remain available for future questions
See what clients have shared about their experience of working together.

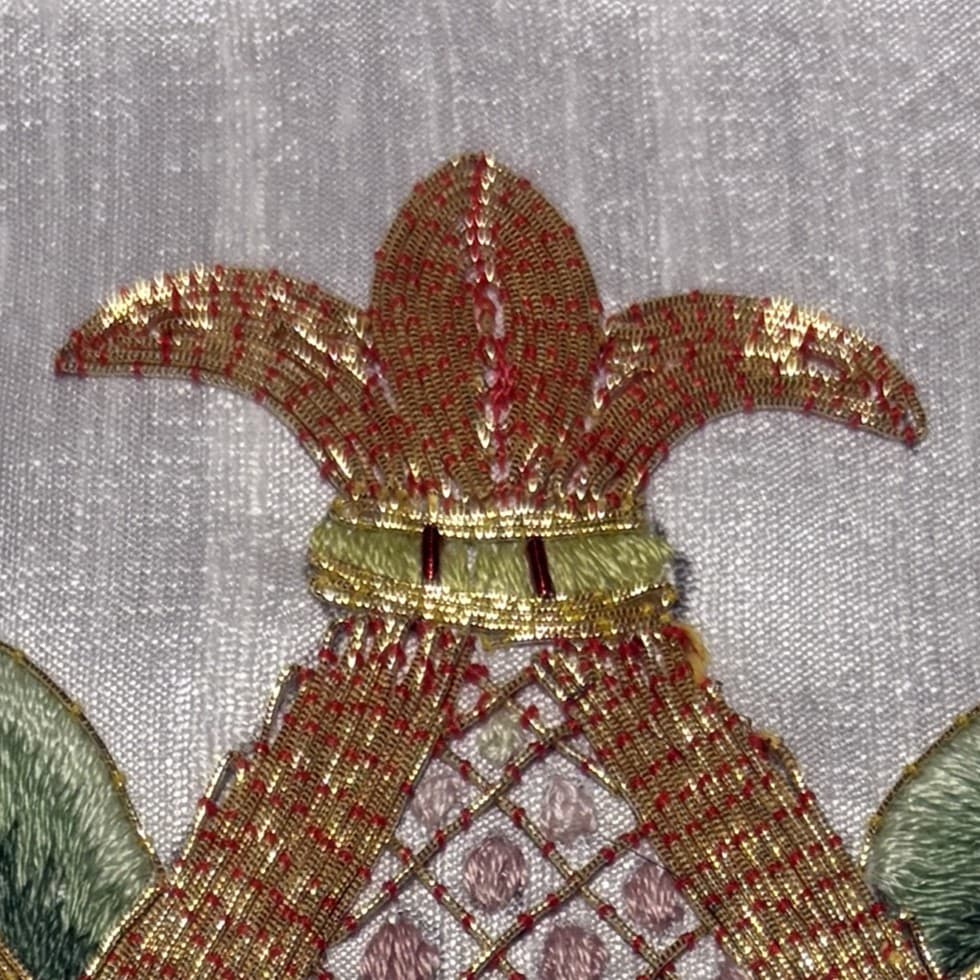
Goldwork Embroidery
Executed entirely by hand, this time-honored technique brings a touch of light and festivity to the piece.
Common Questions About the Process
Every project is a little different, but these are some of the questions that often come up as we begin working together.
Practical Details of Working Together
- Timeline: 3–4 months
- Custom, made-to-measure
- Memorial gifts & bequests welcomed
- Designed to last 50+ years
Whether you are exploring an idea or ready to begin a project, I would be honored to work with you.
Designed for Both Beauty and Practical Use
In addition to creating custom liturgical textiles, I have developed construction techniques that make these pieces easier to use, maintain, and care for over time.
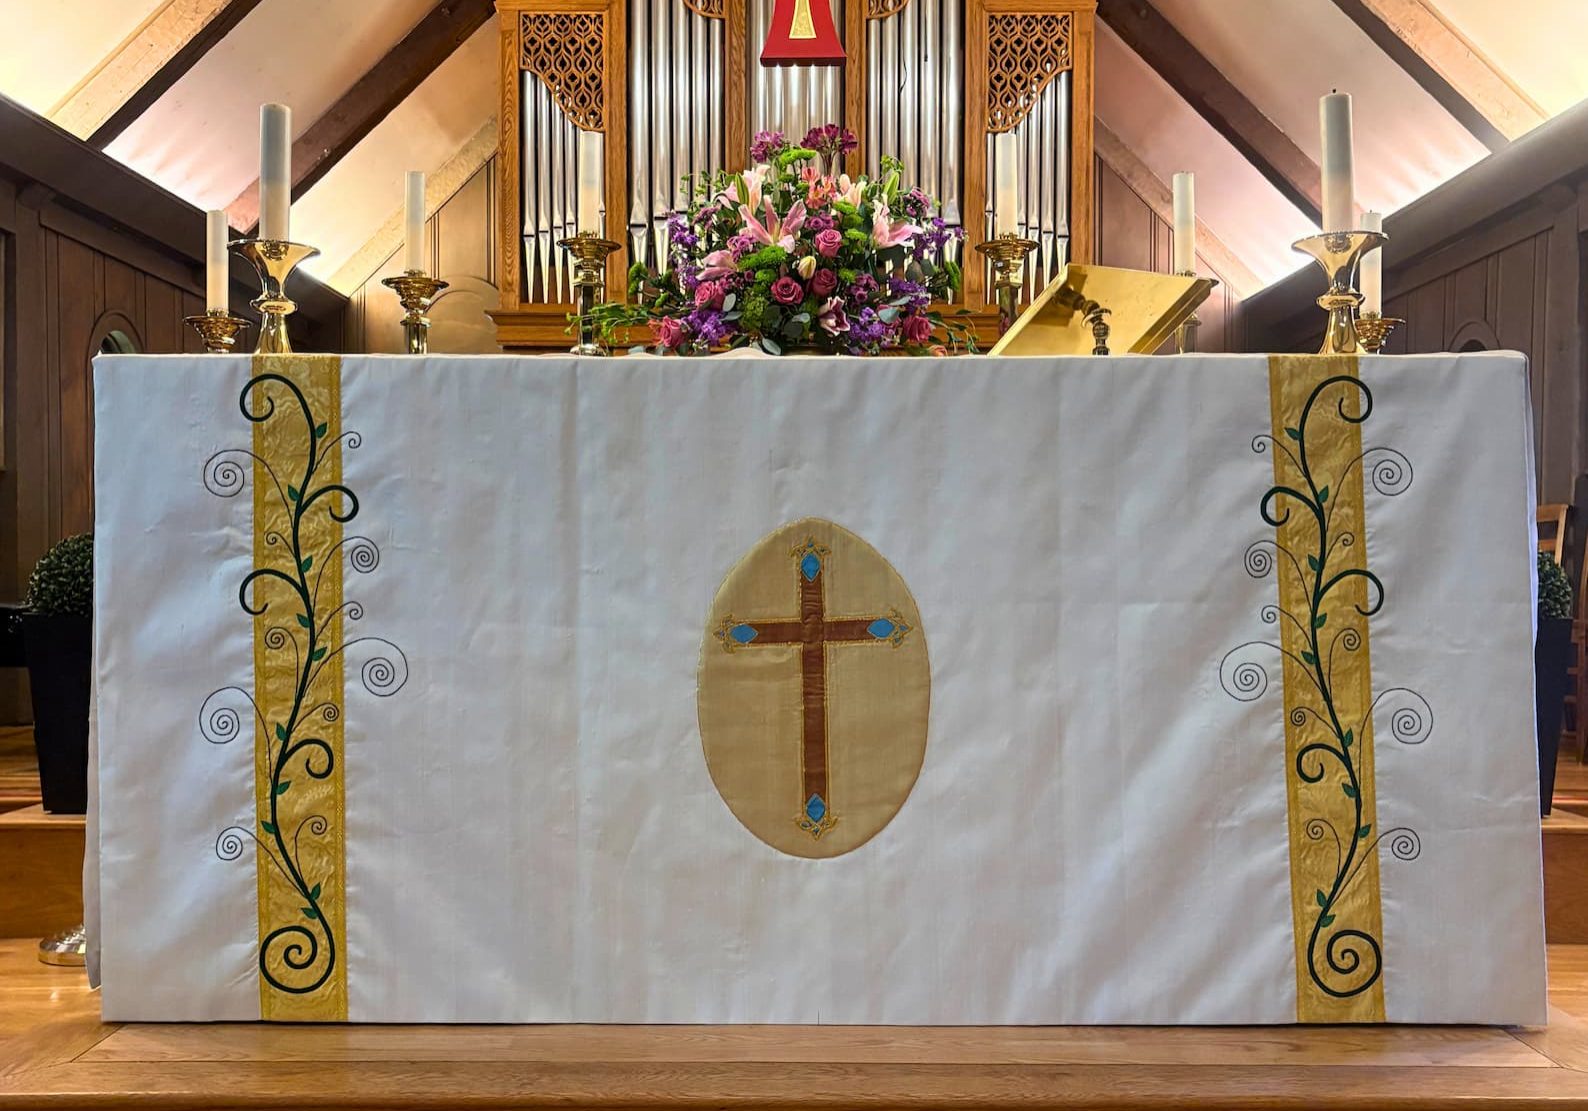
This installation at St. Mary's Episcopal Church included altar overlays for Christmas and Easter.
The Challenge with Traditional Designs
Frontals are traditionally comprised of two sections that are permanently joined:
- the actual frontal (what's visible from the front) and
- the decking (what goes on the top or mensa of the altar and hangs down the back of the altar, usually weighted with a rod).
There are three main problems with this construction.
- these traditional frontals are very heavy, and usually require two people to handle them.
- the entire altar must be stripped to change the frontal.
- these frontals are difficult to store without crushing or wrinkling them.
The Schaeffer System
Named for Jean Schaeffer, the Altar Guild Directress of the St. Mark's Episcopal Church in Toledo, OH, the Schaeffer System eliminates all three of these problems. saving time, energy, and space.
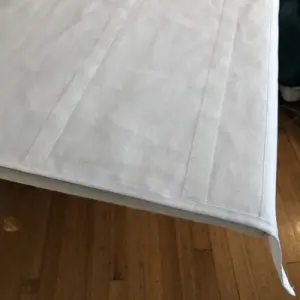
By separating the frontal portion from the decking portion, this system allows the decking to stay in place, underneath the fair linen, and with all the altar appointments in place.
The decking piece is laid upon the altar with the Velcro strips towards the front of the altar and the pocket for the weighted rod at the back.
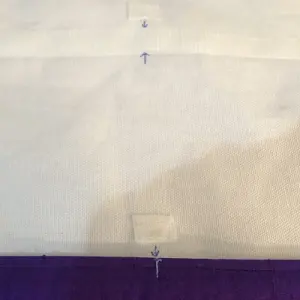
The thread line at the very front edge of the altar allows the decking to be placed accurately at the very edge of the altar for the frontal to fall at the perfect height. The edges of the decking are finished in cotton bias for durability and strength.
Aligning marks allow for perfect centering of the frontal the very first time.
Once the frontal is attached, the weighting rod can be slid into its pocket, and set-up is complete.
The small, square Velcro "dots" are an add-on feature that allow for the use of overlays with your frontals. An overlay is a smaller fabric hanging that enables the frontal to be customized for a celebration, theme, or season. For instance, if your church uses purple paraments for both the Lent and Advent seasons, an overlay is a less expensive way to bring out the themes of the season without investing in another entire frontal.
This lovely purple frontal could be embellished with a rose overlay on Gaudete Sunday and Refreshment Sunday.
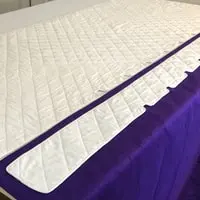
I find it helpful with any decking system to have a bit of padding underneath the fair linen and over the decking. This padding serves several practical purposes.
- it helps to eliminate any "clunking" sounds from chalices, sacramentary stands, etc.
- it provides an absorbent layer to quickly pull wine and water away from both the fair linen and the decking.
- In the Schaeffer System, it evens out the landscape of the mensa so that the fair linen is smooth and candlesticks aren't tipping precariously.
In this photo, the decking was designed for the overlay add-on, so the notches hug around the Velcro "dots", allowing for a flawless surface.
The Result
- less physical effort
- faster seasonal changes
- better long-term care
You can see the Schaeffer System in action in this video - so quick and easy to make changes with no need to strip the altar!